Custom Navbar

Monday, 3 October 2016

Lottie London Nail Polish Review + NOTD

I hadn't heard of Lottie London until quite recently but they have very cute packaging and a wide range of nail polishes along with other products. If you saw my Superdrug Haul about two months ago then you will know that I got a few of their nail polishes. I got a dusty pink colour, a gel effect nail polish and a light grey colour. Today I will be reviewing the light grey colour called Classy Gal, although it is also a general review of the Lottie London nail polishes and their quality. 
So first off, just by looking at the bottle, I really love this colour. It is a great neutral colour that will go with almost any outfit and I feel the same about the dusty pink colour I got called Hit Refresh. The packaging is really cute and simple, and the bottle is quite big so you get quite a lot of product for your money (€5.35). I have used this colour quite a lot over the last two months and there isn't even a quarter of the product gone.

When applying this product, I noticed a negative aspect about it pretty quickly. Two coats definitely didn't match the colour that you see on the bottle and I end up having to apply about five coats to get the right pigmentation for it to match the bottle. This makes applying this product pretty time-consuming because you need to apply the product and then wait for it to dry four or five times before your nails are done, and that is without applying a base or top coat.

After applying the product, I noticed that the lasting power it has is pretty average for the price. It did chip fairly often especially when I was a work, but it could last a day or three at home without chipping. Since these nail polishes are only €5.35, I didn't expect them to go weeks without chipping, although, if you use the gel effect nail polish on top, it does lengthen the amount time you can wear it without chipping.
One of my favourite thing about these nail polishes is that they have such a wide variety of colours, both in glitter and matte, and they are a really affordable price. The fact that you have to apply so many coats of the product is annoying but I got used to it after a while. The first initial painting takes a fair bit of time but after that, the repainting the chips only takes two or maybe three coats. 

Overall, I actually did like this product, although it was mostly down to the colour which I loved. The quality could be a little better but you pretty much get what you paid for. The tonne of coats was a bit of a pain but the thicker you paint them, the less you have to do, although that adds to the drying time. Have you ever tried Lottie London nail polishes before? Let me know what you thought about them in the comments below. Also, If you liked this post, then make sure to love it on Bloglovin or give it a +1 on Google plus. I hope you are having a great day and I'll talk to you soon. 


*UPDATE*
When I first bought this nail polish over two months ago, it was quite a watery consistency and that is why it took so many coats to look the same as the bottle. Since I've had it, it has sort of thickened up over time and now only takes about three coats to look like the picture above. 

Also, I noticed that if I apply it a while before I have a shower or if I'm cleaning with hot soapy water, it sort of peels off and I need to paint my nails again. So it is probably best to apply it after having a shower. This has only happened to me two or three times, so it doesn't happen every time and maybe those times I mightn't have waited for it to dry properly. I just thought I'd let you know in case this is a common thing with the Lottie nail polishes. 


Follow

Wednesday, 6 April 2016

NOTD: Navy Blue Nails

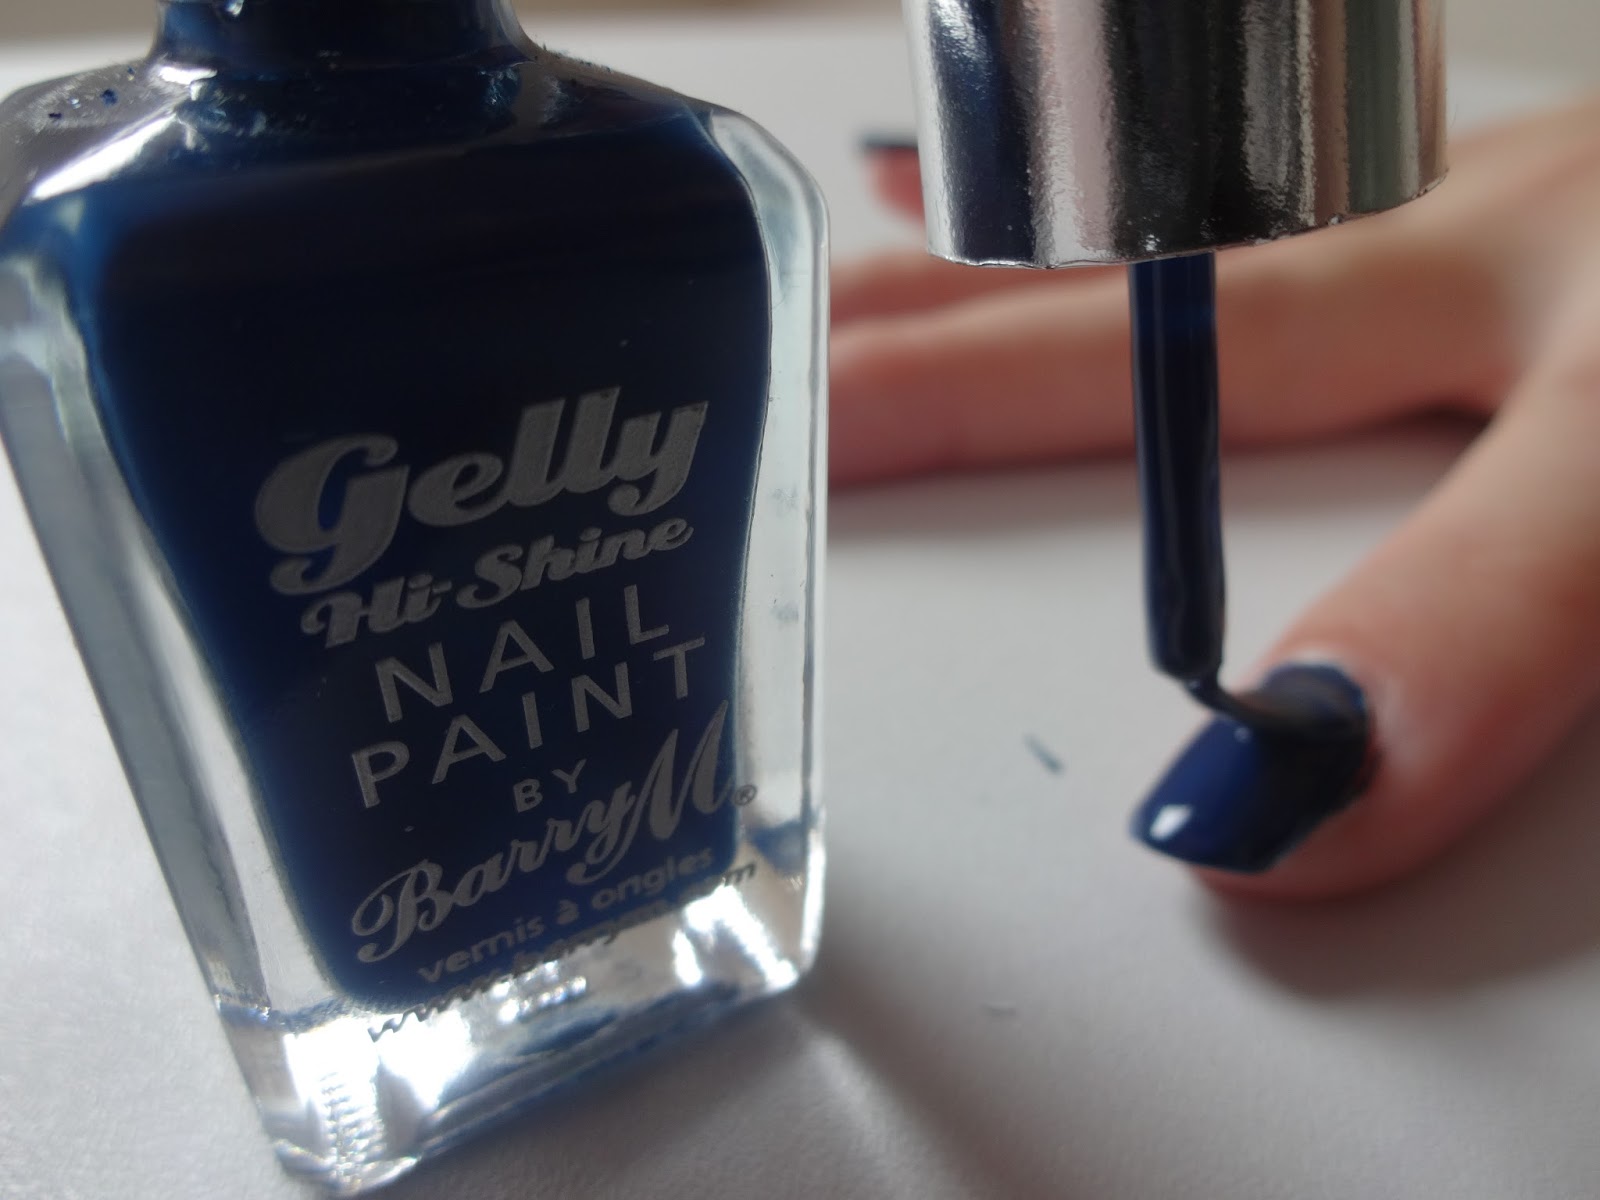
Hey guys, today's blog post is just a quick nail of the day. I decided to go for navy blue nails. I really like them. I was going to do some sort of design on top in a black but I chose to leave them plain and sort of understated. I tend to prefer simple nails over highly designed ones anyway. The nail polish that I used was a Barry M Gelly Hi Shine Nail Paint in the colour Blackberry which I think is supposed to be like a gel nail polish. I've had problems with Barry M nail polishs before in that they stained my nails but hopefully that doesn't happen with this one. So that was my quick little post for today. I hope you all have a great day and I'll talk to you soon. 


Follow

Wednesday, 9 December 2015

O.P.I Get Cherried Away Nail Lacquer Review

Recently I bought a new O.P.I. nail polish called Get Cherried Away. It is a deep purpley plum colour. O.P.I, along with Essie, is among my favourite brands for nail polish, mostly because they are such great quality. They both last quite a long time before chipping, a lot more than any other brands that I've tried.
It's pretty similar to Essie's Bahama Mama, which is one of my favourite colours ever, except this is less of a wine colour and a bit more purpley than that one. Of course I saw it at the Professional Beauty Ireland event and thought it was a gorgeous colour, different to anything I had already, until I got home and realised that I have at least three other nail polishes like it, each which seem to be only one or two shades different. Does that ever happen to you? I find that I seem to gravitate towards wine and peachy nail polishes in the shop and almost always forget that I've bought that same shade time and time again. 

I got this nail polish for something like €6.50 which is almost half off. I had to stop myself from buying many other shades at that price and picked only one, one that I thought was completely different to anything I had :P Even though I have other colours like it, I still really like this one especially for the winter months. I have already been wearing this more than any other colour I have over the last two months, epecially for the quality because I'm constantly peeling off stickers and unpacking boxes in work which requires a strong nail polish in order for it to survive an hour, not to mind the entire day. 
This has quickly become one of my new favourite polishes that I can see myself buying again in the future. I'll defintely need a new one to get me through next winter haha. 
Have you ever tried this colour or any of the other O.P.I. colours before? Let me know in the comments below what you thought of them and I'll talk to your soon. 


Follow

Monday, 31 August 2015

How To: Blue Ombre Nails

Hey guys, today I'm showing you a step by step tutorial to get these textured blue ombre nails. I recently got a nail art set so I decided to try it out with a new nail look. 
I started off just sort of making it up as I went along but then I decided to do an ombre nail look. The colours I used were white, a dark navy blue and black. Any nail polishes that are these colours will do or you could also use another colour instead of navy blue if you wanted a different coloured ombre nail look.
The first thing I did was two or three coats of white nail polish over the entire nail. I then waited for it to dry completely before moving on to the next step.  
I then applied the navy blue colour over the white. After the nail was fully coated in blue I quickly moved on to the next step before it dried fully, while it still had a tacky feeling.
I took a dotting tool and scraped the blue nail polish off my nails until I could see little lines or dots of white underneath. I only did this on the top third of my nail. 
I then painted some black nail polish on the lower third of my nail. I did this sort of messily and in an upwards direction, not straight across, so it would blend into the other colours a bit easier. 
Next, I took my dotting tool again and pressed it into the nail polish a couple of dozen times over the entire nail to create a bumpy textured affect.
I then let it dry almost fully and pressed down on the entire nail with my thumb to flatten the bumps to create a better finish that would last longer. I also did an accent nail which was just basically blue glitter on the nail so that all of the nails wouldn't be the same. 
So that is the tutorial. I hope you enjoyed this post. If you did, make sure to save it on Bloglovin or give it a +1 on Google Plus. Also, let me know in the comments below if you have ever tried out ombre nails before or if you are going to try them out now with this tutorial. Talk to you soon. 


Follow

Sunday, 19 April 2015

NOTD: Barry M Nail Paint (Papaya)


Hey guys, here is the new nail colour that I have been rocking lately. It's a Barry M Nail Paint in the colour Papaya. It reminds me a little bit of the Bourjois So Laque nail polish in Abricot Ouaté except it is darker and a bit more or a coral colour. This is quite a bit lighter in real life than it photographed in the picture below but I couldn't seem to capture it right.

I'm going to use this nail polish so much throughout the summer; I've already been wearing it for the last few weeks. I'll make sure to review the Barry M Hi Shine Nail Paints soon when I have properly tested them out but I'm loving them so far.

I hope you liked this post! If you are interested in getting this nail polish, you can buy it here on Amazon or in any Boots store. I hope you are having a great day and i'll talk to you later. 

*MissLauraBora's Blog

Tuesday, 3 February 2015

Natural Collection Nail Polish Review


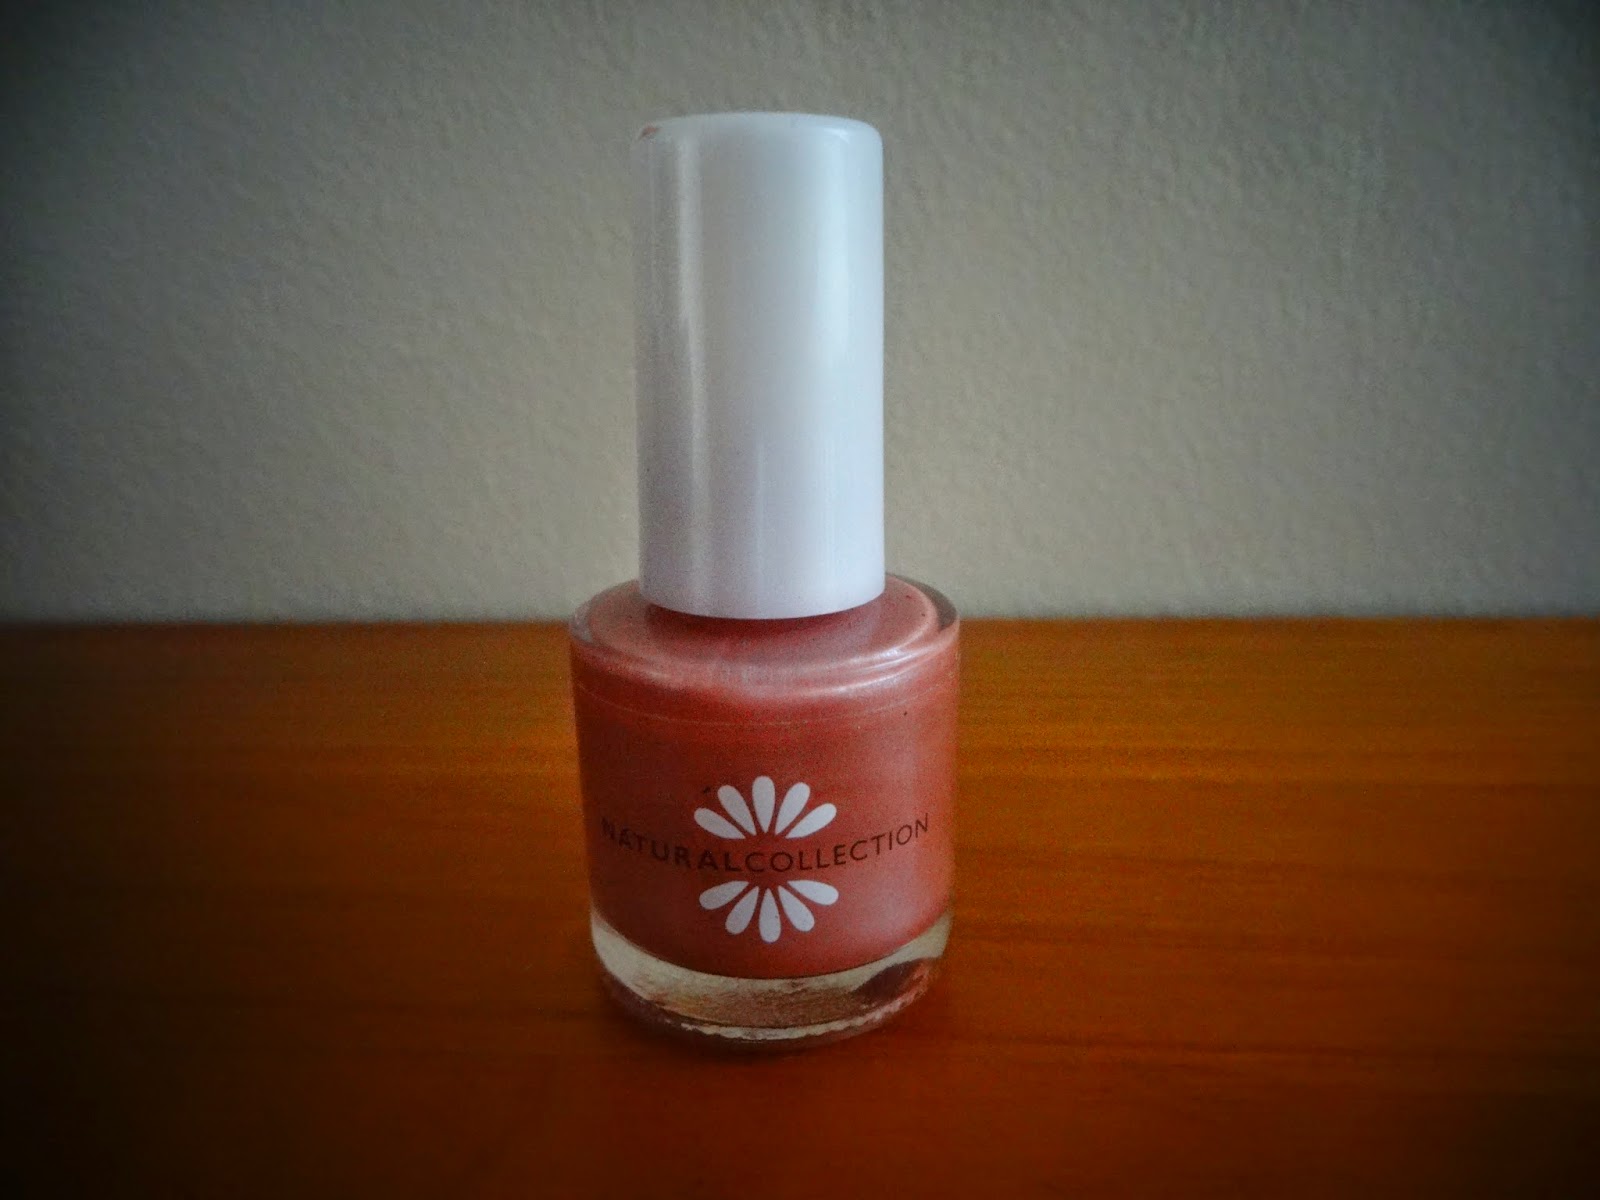
Hey guys, today I'm reviewing the Natural Collection nail polish in the colour Praline. I already did a NOTD blog post where I said that I wasn't sure about the colour. As I said in that post, it just reminds me of a old lady's nail polish, like something the old Rose in Titanic would wear. Since then I wore it for a couple of days to try to get used to it and to test out it's quality. The good news is that I've slightly gotten used to the colour and I don't wince when I see it on the end of my fingers anymore. My mind isn't 100% changed yet but there is progress. For just colour alone, I'd say that even though i'm not crazy about it that I probably would wear this colour every now an again to use to nail polish up; I don't dislike it so much that I wouldn't wear it. I think that if this was a matte nail polish and not a satin finish one that I would actually really like the colour but it just doesn't look they way I would have thought it would when it's on my nails. Now that my colour rant is over, let's talk about quality.

When I first tried this nail polish I didn't think it was anything special but when I compared it to other nail polishes of the same/similar price (€2.49), I realised that it lasts a couple of days longer without chipping. The Essence and Catrice nail polish seem to barely last a few hours on my nails without getting extremely chipped but this nail varnish lasted about 2 or 3 days without chipping. When it did chip, it wasn't very noticeable, it was just barely at the tips of the nails. I went about 4 or 5 days without having the repaint them which is pretty good going for a nail polish that's only €2.49. I think for the price it's a pretty great nail polish and I might buy some more colours of it that I like a bit better.

I hope you enjoyed this post. Have you ever tried out this brand? Let me know what you thought of their products in the comment section below. Also, let me know what it your favourite cheap nail polish because I would love to find out. Talk to you soon.

Tuesday, 11 March 2014

NOTD: Essie's Mind Your Mittens

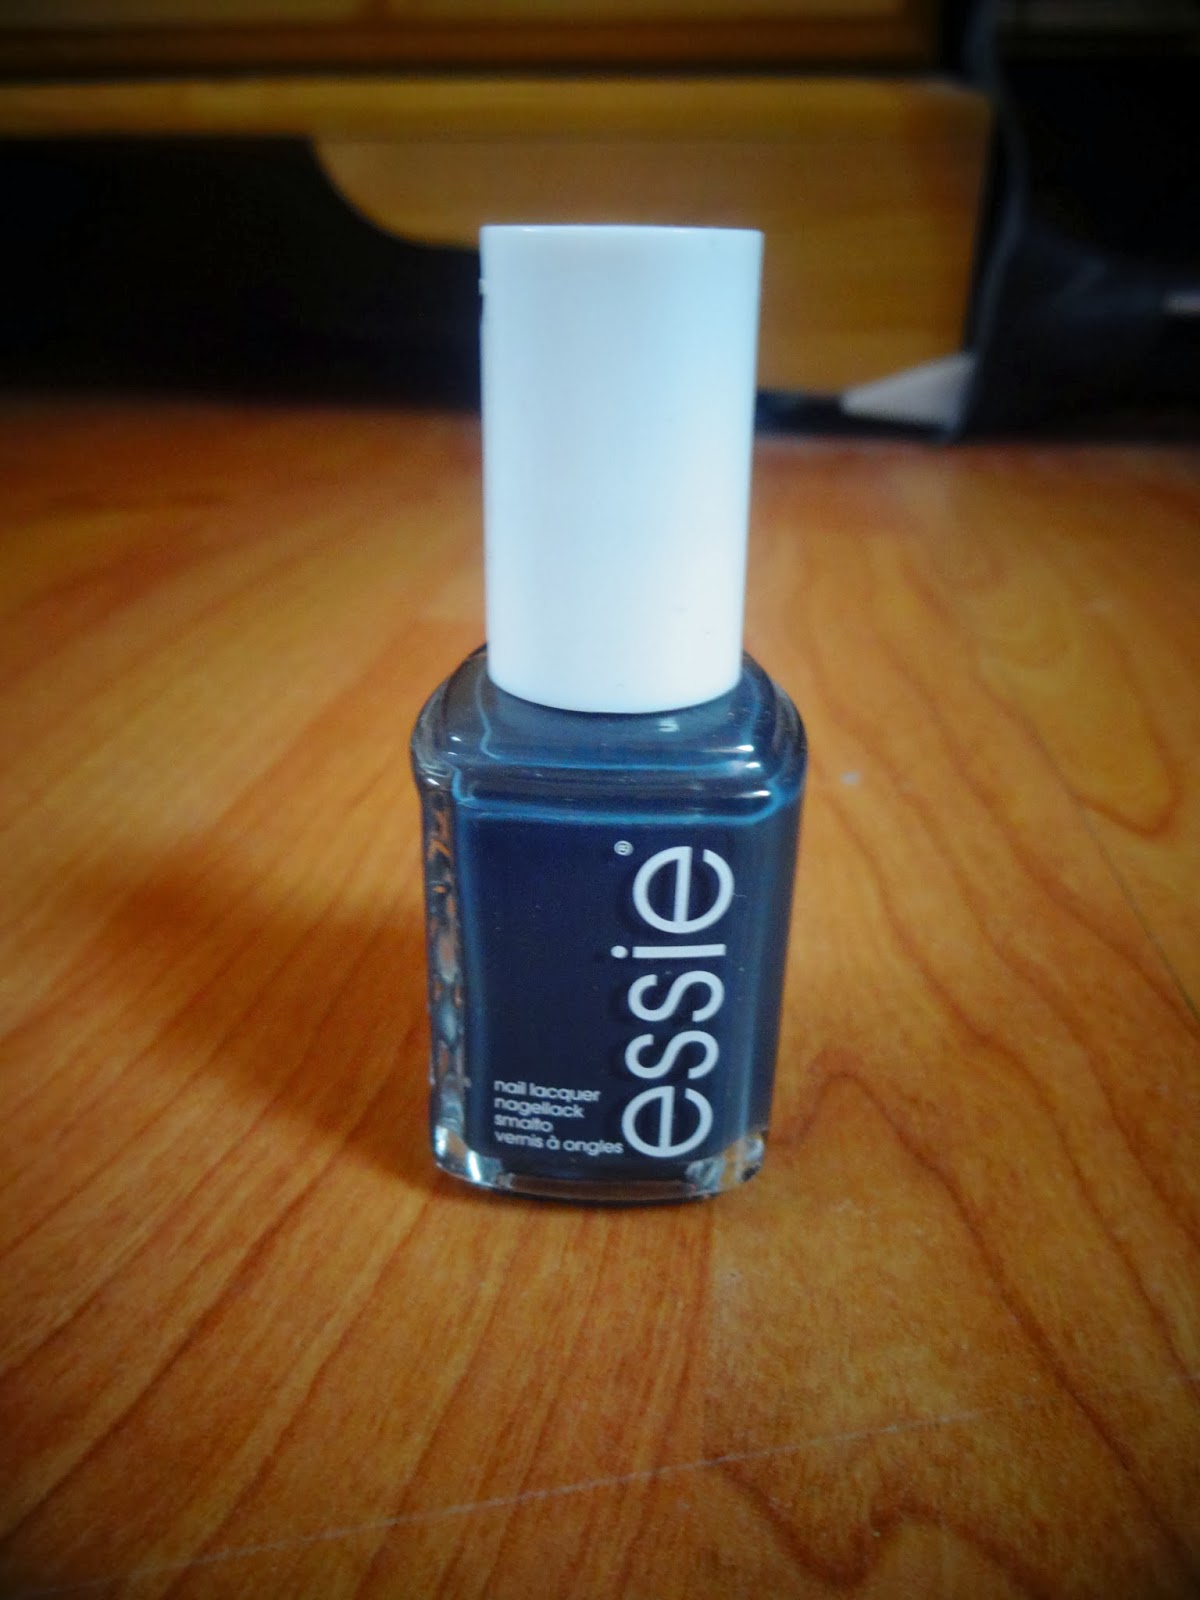
Hey guys, today I want to do a quick nail of the day for you all of Essie's Mind Your Mittens. The reason why I wanted you to see what this nail polish looks like on your nails is because I find that with Essie nail polish, that the colour always comes out much deeper on your nails than what it appears to look like from the bottle, and I didn't want you to buy it thinking it was the same as the bottle. I do like the colour when it is on my nails and I will continue to wear it, but I think that I would have much preferred this nail polish if it was a slightly lighter shade like what it appears to be on the bottle. I found that it came out this dark after only one coat which was a bit of a shock because I was expecting it to be much lighter. I still love Essie nail polishes though because they are great quality and take quite a long time to chip, but I'm going to be a little more wary the next time I buy one of them because this isn't the first time that one of them came out darker than on the bottle.

Follow on Bloglovin

Saturday, 18 January 2014

NOTD: Collection Hot Looks Nail Polish


Hey guys, the other day I tried out the Collection Hot Looks nail polish in the colour 65 Scorched. I bought this because I thought it looked really cool and metallic, and it was really cheap too. It was only like 3 euros in Boots. I liked the nail polish but it was a little bit brighter than I was expecting. I would prefer if it was a tiny bit darker just so it could be worn for more types of occasions. It chipped pretty fast but I guess that's what I should expect for a nail polish that was so cheap. These nail polishes are good for really bright and pigmented colours that are cheap if you don't mind repainting, or they can last longer if you invest in a good clear top coat nail polish to wear over them. 
Follow on Bloglovin

Wednesday, 23 October 2013

NOTD: Essie's Island Hopping

Hey guys, as you might have already seen in my Essie nail polish haul that I did earlier this week, I got two different Essie nail polishes here in France. One of them was the colour Island Hopping which I'm wearing in the picture above. In the picture I have two coats of it it on but I noticed that with both of my Essie nail polishes that they come out I lot darker than I had expected them to even after just one coat. That's why I thought I should do a NOTD of each of them for you. I still really like this colour and will wear it but it is very similar to another nail polish I own so I would have been less likely to buy it if I knew it was this dark and like one I already have. Not to worry, I will still make sure to use it all up :)

Follow on Bloglovin

Monday, 5 August 2013

NOTD: Pink and White Polka-Dot Nails


Hey Guys! Today's post is a nail of the day. I decided to do polka-dot nails because I love polka- dots and think they're really cute (as you might be able to tell from my blog :P ) To achieve these nails I first put on two coats of O.P.I's nail lacquer in the colour not so bora bora-ing pink and then used Essence's colour and go in the colour 02 white secret to do the dots. You could use any white nail varnish to do the dots. I did them using the brush, just wiping the excess of the side of the bottle and then using the corner of the brush to dot to colour on. I would also recommend a good clear top coat over the finished look to help to keep it from chipping.

Hope you liked this post! Make sure to leave a comment below if you did :)

                                                         Follow on Bloglovin

Tuesday, 25 June 2013

NOTD | Black and Gold Metallic Nails


Hey Guys! Today i'm going to be a bit more adventurous with my nails, using black crackle glaze over gold nail varnish to create this cool metallic look. I really like the idea of crackle glaze because it looks like you have spent a lot more time on your nails then you actually have. If you don't know how crackle glaze works, you start off by painting a base colour (like I did with the gold), wait for it to dry, and then just paint the crackle glaze straight over it. (it's a simple as that) Then some of the crackle glaze will crack off you nails on its own and leave them looking like this design in the picture above.

I got this Angelica Crackle Glaze in the colour Black Crackle in Pennys for only around €2 so it's great value for money. The Gold Catrice nail varnish is no. 650 Goldfinger and is Limited Edition (just under €2) but you could use any gold nail varnish to achieve this look. You could also use the crackle glaze over any other colour that you like. Both red and silver are colours that I think would look really cool :) 

You can buy Angelica nail varnishes at any Pennys (Primark). Barry M also do a crackle glaze that can produce a similar effect and it can be bought at most Boots Stores or you can click here to buy it on Amazon.

Hope you liked this post! Please leave a comment below if you did :)

Thursday, 20 June 2013

NOTD Peachy Summer nails


Hey Guys :) As you know, I am really loving Bourjois' So Laque nail varnish. Read my review of this nail varnish here. Since I liked the other one I have (Beige Glamour) so much, I decided to get it in another colour. The colour I got is Abricot Ouaté and it is a really nice peachy/orangy colour. For summer, I've been using a lot of corals and peaches tones so when I saw it I knew I had to get it...Love it!!

Hope you liked this post. You can get this nail varnish in any Boots or click here to get it on Amazon.


Friday, 14 June 2013

Friday Favourite #6 : Bourjois So Laque Nail Varnish (in Beige Glamour)


Hey Guys! This weeks Friday Favourite is Bourjois' So Laque Nail Varnish in the colour Beige Glamour. I got it in Boots for around €7. I really love this nail varnish and wear it a lot. It's a really nice wine-ish colour thats subtle enough to be worn everyday. It goes on very easily and doesn't take very long to dry. It has a very shiny and glossy finish and it doesn't chip too easily. Although it says on the bottle that it lasts seven days, it does seem to chip after about 4 or 5 if a top coat is not applied over it but I do think, for the price, it is a very good nail varnish. If you like this nail varnish you can get it on Amazon by clicking HERE.

Hope you liked this post :) Please comment below x