Hey guys, today I'm showing you a step by step tutorial to get these textured blue ombre nails. I recently got a nail art set so I decided to try it out with a new nail look.
I started off just sort of making it up as I went along but then I decided to do an ombre nail look. The colours I used were white, a dark navy blue and black. Any nail polishes that are these colours will do or you could also use another colour instead of navy blue if you wanted a different coloured ombre nail look.
The first thing I did was two or three coats of white nail polish over the entire nail. I then waited for it to dry completely before moving on to the next step.
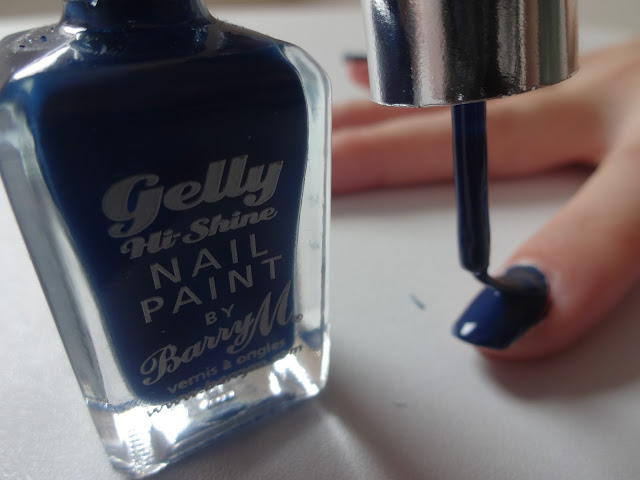
I then applied the navy blue colour over the white. After the nail was fully coated in blue I quickly moved on to the next step before it dried fully, while it still had a tacky feeling.
 I took a dotting tool and scraped the blue nail polish off my nails until I could see little lines or dots of white underneath. I only did this on the top third of my nail.
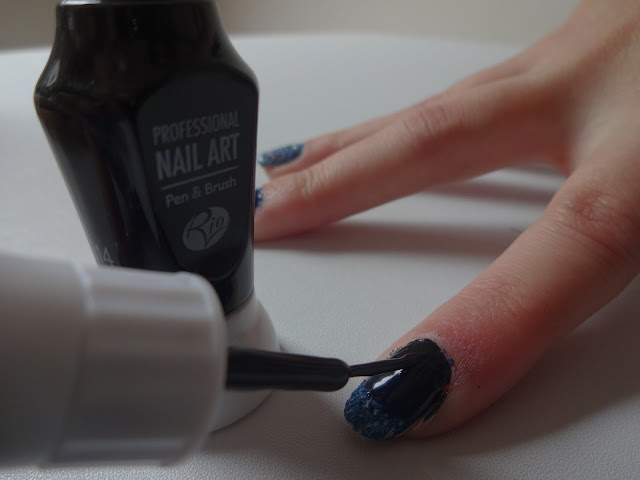
I then painted some black nail polish on the lower third of my nail. I did this sort of messily and in an upwards direction, not straight across, so it would blend into the other colours a bit easier.
Next, I took my dotting tool again and pressed it into the nail polish a couple of dozen times over the entire nail to create a bumpy textured affect.
I then let it dry almost fully and pressed down on the entire nail with my thumb to flatten the bumps to create a better finish that would last longer. I also did an accent nail which was just basically blue glitter on the nail so that all of the nails wouldn't be the same.
 So that is the tutorial. I hope you enjoyed this post. If you did, make sure to save it on Bloglovin or give it a +1 on Google Plus. Also, let me know in the comments below if you have ever tried out ombre nails before or if you are going to try them out now with this tutorial. Talk to you soon.
 Follow


